


Creating an Avengers app using the Ionic API and React
In the previous tutorial we boostrapped an Ionic application with the React library.
Today we will create an Avengers series app by using the same stack and the powerful Ionic Component API.
Since we are not using the Angular way, we need to add some Elements to the index.html file:
<body>
  <ion-app class="ion-page hydrated">
    <ion-content id="root">
    </ion-content>
  </ion-app>
</body>
If we want the Ionic Component API to work properly, we need the <ion-app> and the <ion-content> tags.
The bootsrapping mechanism stays the same:
import React, { Component } from "react";
import ReactDOM from "react-dom";
import AvengersComponent from "./app/AvengersComponent.jsx";

ReactDOM.render(
    <AvengersComponent/>
  ,document.getElementById("root")
);
We still use the "root" id to render our Ionic React application.
We now have a brand new AvengersComponent.
This component will:
- Ask the Marvel Comic API for the Avengers series
- Get their images and titles
- Store the data in the React Component's state object
- Display the information by using some Ionic Component APIs
We start with some basic settings:
import React, {Component} from 'react';
import axios from 'axios';

export default class AvengersComponent extends Component{
  constructor() {
    super();
    this.apiKey = '?apikey=62fd825f7cda72881097e65913c376c5';
    this.size = '/standard_fantastic';
    this.state = {
      series: []
    }
  }
}
We use the axios library to acquire the information so before that:
yarn add -s axios
Three properties are initialized:
- apiKey: That's my own Marvel API that is required for every call
- size: The size of the image we want to retrieve
- state: The component's state which only has an empty series array
We can now start the processes:
  componentDidMount() {
    this.getData();
  }

  async getData() {
    const response = await axios
      .get('http://gateway.marvel.com/v1/public/characters/1009165' + this.apiKey);

    const series = response.data.data.results[0].series.items;

    series.forEach((serie) => {
      this.getSerieThumbnail(serie);
    });
  }
The componentDidMount hook will launch the getData method once the component is mounted. It's the equivalent of ngOnInit.
We use the async/await combo to acquire the Avengers series from the Marvel Comics API and stock the data in the response.
The items are then passed to a series constant.
We will loop on them and get the serie's thumbnail with the following method:
  async getSerieThumbnail(serie) {
    const response = await axios.get(serie.resourceURI + this.apiKey)

    const serieInformation = response.data.data.results[0];

    const thumbnail = serieInformation.thumbnail;
    const title = serieInformation.title;
    const img = thumbnail.path + this.size + '.' + thumbnail.extension;

    this.setState({series: [...this.state.series, { img:img, title: title}]});
  }
We use the serie's resourceURI to ask the API for more information.
We can now set the title and create a custom string in the img constant to target a specific image size.
The last step is updating the component's state, classic React there, we use the spread operator to update the value of the series with a new serie containing the img url and the title.
The final step is now rendering the component in the render method:
render(){
    return(
        <div>
          {this.state.series.map((serie, i) =>{
            return <ion-card key={i}>
                  <ion-card-header>
                      <ion-card-title>{serie.title}</ion-card-title>
                  </ion-card-header>

                  <ion-card-content>
                      <ion-img src={serie.img}/>
                  </ion-card-content>
              </ion-card>
            })}
        </div>
    );
  }
We loop on the series stored in the state.
For each serie, we use the index has unique key and create a <ion-card> that has a <ion-card-header> and a <ion-card-content>. The serie's title is displayed in a <ion-card-title> and the img in a <ion-img>.
Note that in Angular the <ion-img> would have been:
<ion-img [src]="serie.url">
Ionic 4 is framework independent which allows us to pass dynamic values to attributes.
If we wanted to use the Ionic virtualScroll API in Angular we would do this:
<ion-list [virtualScroll]="items">
With React we go this way:
<ion-list virtualScroll="items">
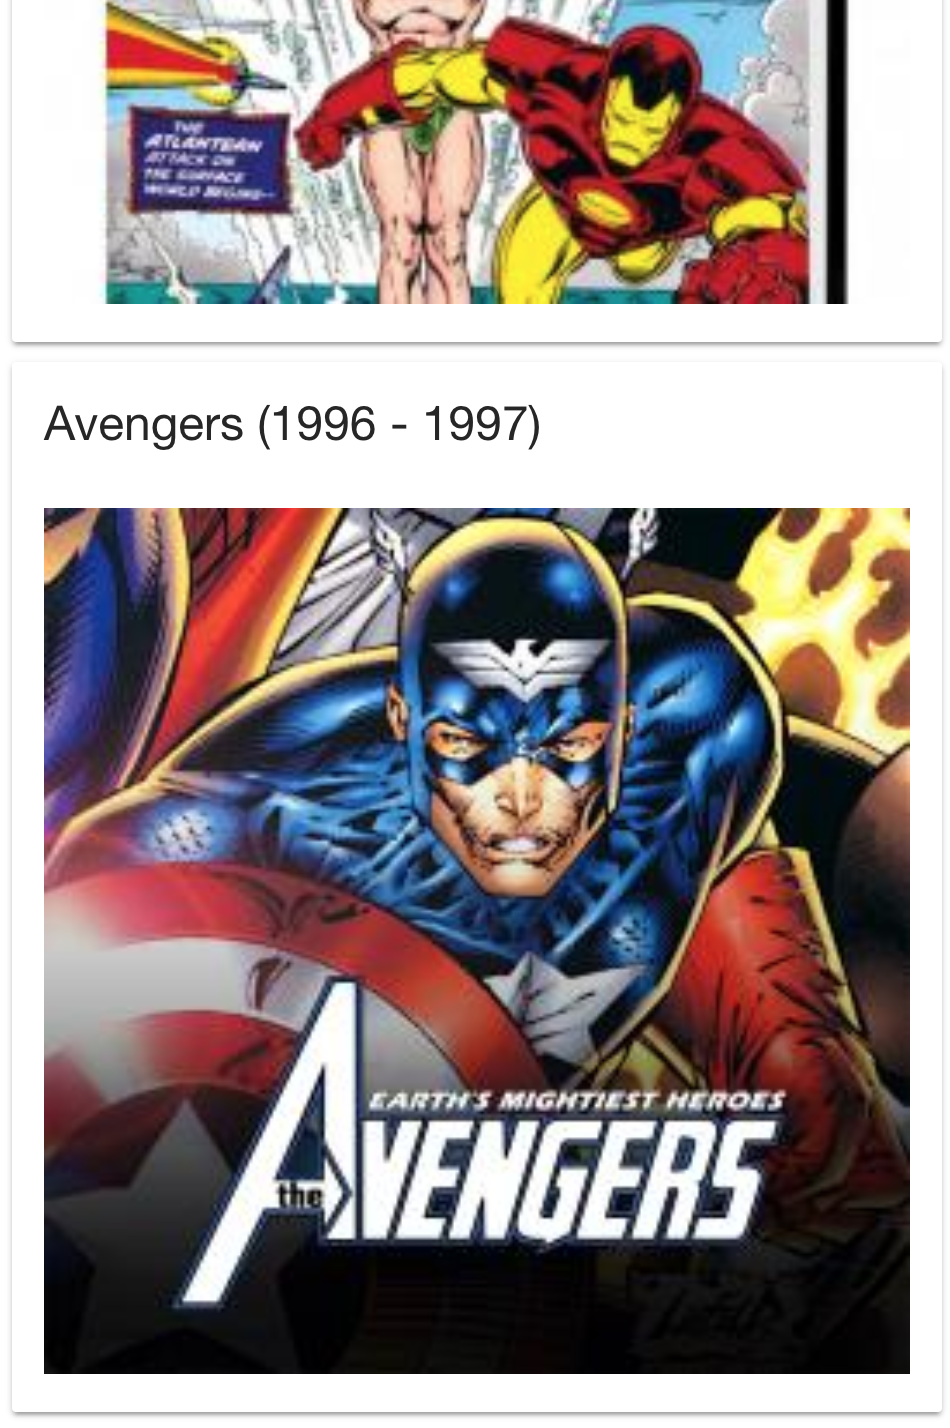
Here is the final result: