Mixing Local Notifications and Background Geolocation in Ionic
This tutorial focuses on showing the power of Ionic's Background Mode. If you follow me on Twitter, you already know that I'm a Pokemon Go addict player and ... this game like many other mobile applications lack some crucial background features forcing us to keep the application open and draining our battery to death.
Running some code in the background of a mobile application is simple (at least with Ionic). In this tutorial we are going to create an application that notifies the player when a legendary Pokemon is nearby.
Plugins
We start by creating a new Ionic project:
ionic start ionic-pokemon-background blank
And adding the Ionic and Cordova plugins we will need:
- Geolocation:
ionic cordova plugin add cordova-plugin-background-mode
npm install --save @ionic-native/background-mode
- Local Notifications:
ionic cordova plugin add de.appplant.cordova.plugin.local-notification
npm install --save @ionic-native/local-notifications
- Geolocation:
ionic cordova plugin add cordova-plugin-geolocation
npm install --save @ionic-native/geolocation
Followed by setting up the plugins in the app.module.ts file:
import { BackgroundMode } from '@ionic-native/background-mode';
import { Geolocation } from '@ionic-native/geolocation';
import { LocalNotifications } from '@ionic-native/local-notifications';
.
.
.

@NgModule({
  .
  .
  .
  providers: [
    StatusBar,
    SplashScreen,
    {provide: ErrorHandler, useClass: IonicErrorHandler},
    BackgroundMode,
    Geolocation,
    LocalNotifications
  ]
})
export class AppModule {}
Nothing fancy here, just importing the plugins and adding them to Angular's providers array.
Background Mode Activation
From there, it's all in the home.ts file.
The first goal is to make a simple log when the background mode is activated:
import { Platform } from 'ionic-angular';
import { BackgroundMode } from '@ionic-native/background-mode';
.
.
.

export class HomePage {

  constructor(public backgroundMode: BackgroundMode, public platform: Platform) {

    platform.ready().then(() => {

      this.backgroundMode.on('activate').subscribe(() => {
        console.log('activated');
      });

      this.backgroundMode.enable();
    })
  }
}
The Platform and BackgroundMode Services are imported then injected.
Once the device is ready, we are ready to roll.
The backgroundMode object has multiple event listeners, we only care about one: activate.
By passing a string to the on method, the backgroundMode service will listen to this type of event (activate) and we subscribe to react to this specific event.
The final touch: the enable method will enable the background mode in the application.
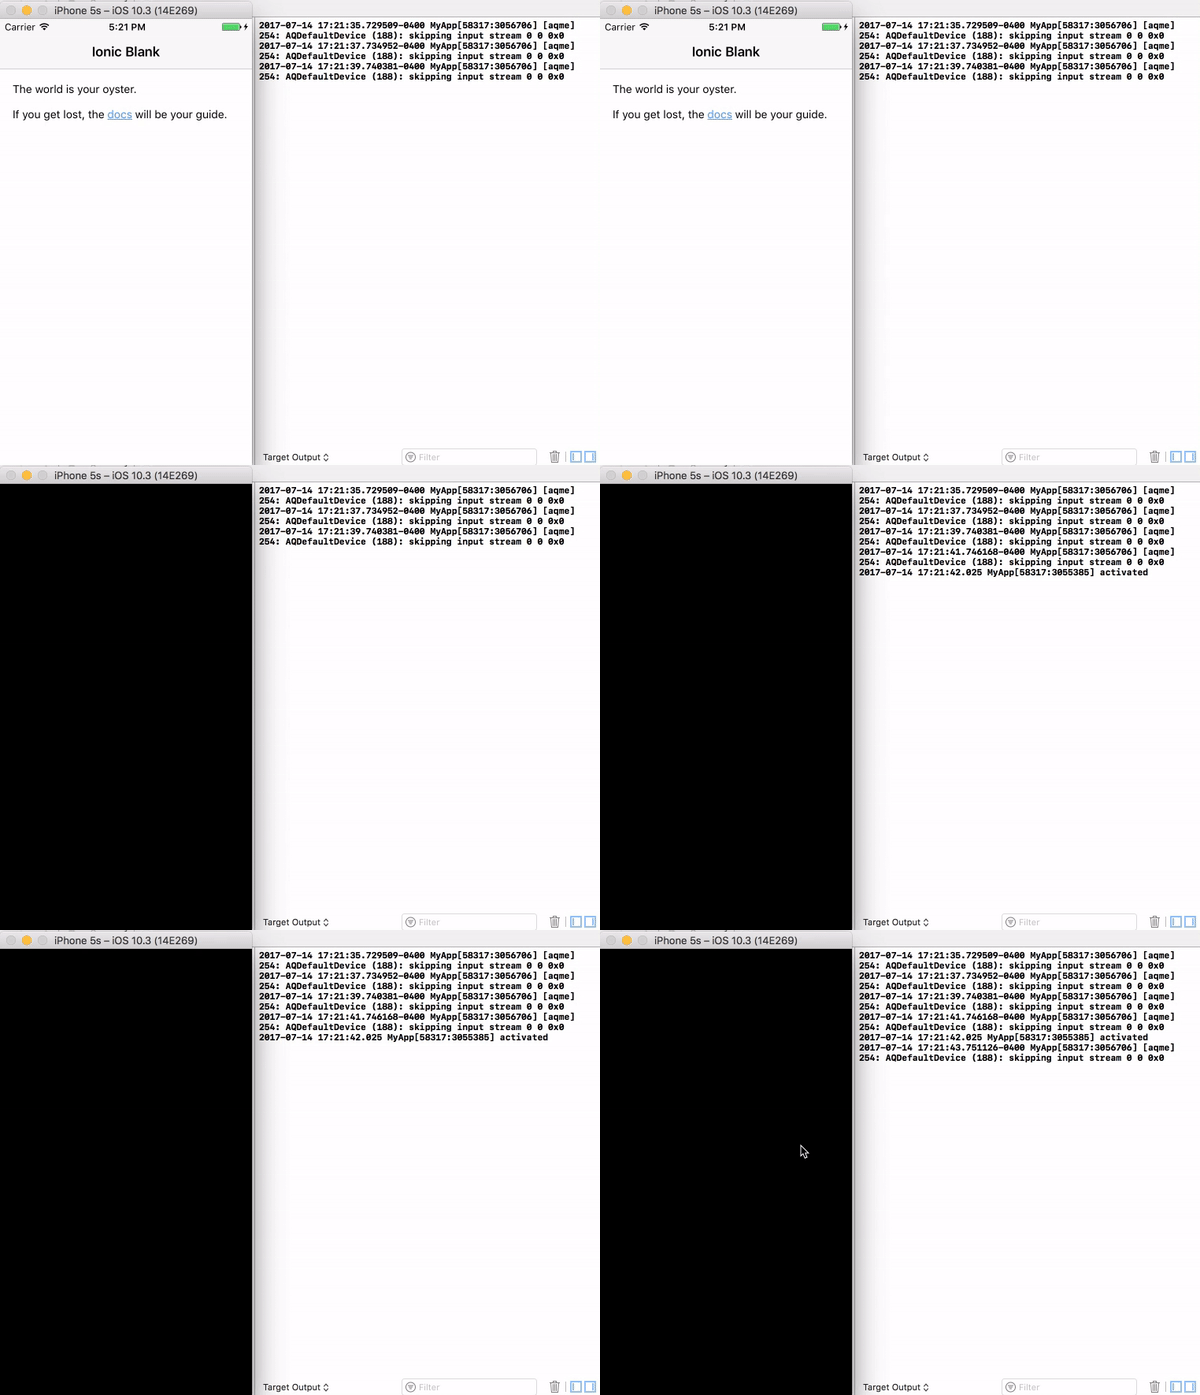
Result:

Great! The first milestone is cleared and our code is running even when the phone is locked (which is quite a battery saving mode isn't it Niantic?).
Our next goal: showing a local notification.
Test Notification
Some more code added to our dear home.ts file:
import { LocalNotifications } from '@ionic-native/local-notifications';
.
.
.
export class HomePage {
  notificationAlreadyReceived = false;

  constructor(
    public backgroundMode: BackgroundMode,
    public platform: Platform,
    public localNotifications: LocalNotifications) {

    platform.ready().then(() => {

      this.backgroundMode.on('activate').subscribe(() => {
        console.log('activated');
        if(this.notificationAlreadyReceived === false) {
          this.showNotification();
        }
      });

      this.backgroundMode.enable();
    })
  }
}
The LocalNotification Service is imported and stocked in a localNotifications property. We will only have one notification so a notificationAlreadyReceived property will be used as a flag.
When the background mode is activated, if we haven't yet received a notification, the showNotification custom method will be used, which is this one:
  showNotification () {
    this.localNotifications.schedule({
      text: 'There is a legendary Pokemon near you'
    });

    this.notificationAlreadyReceived = true;
  }
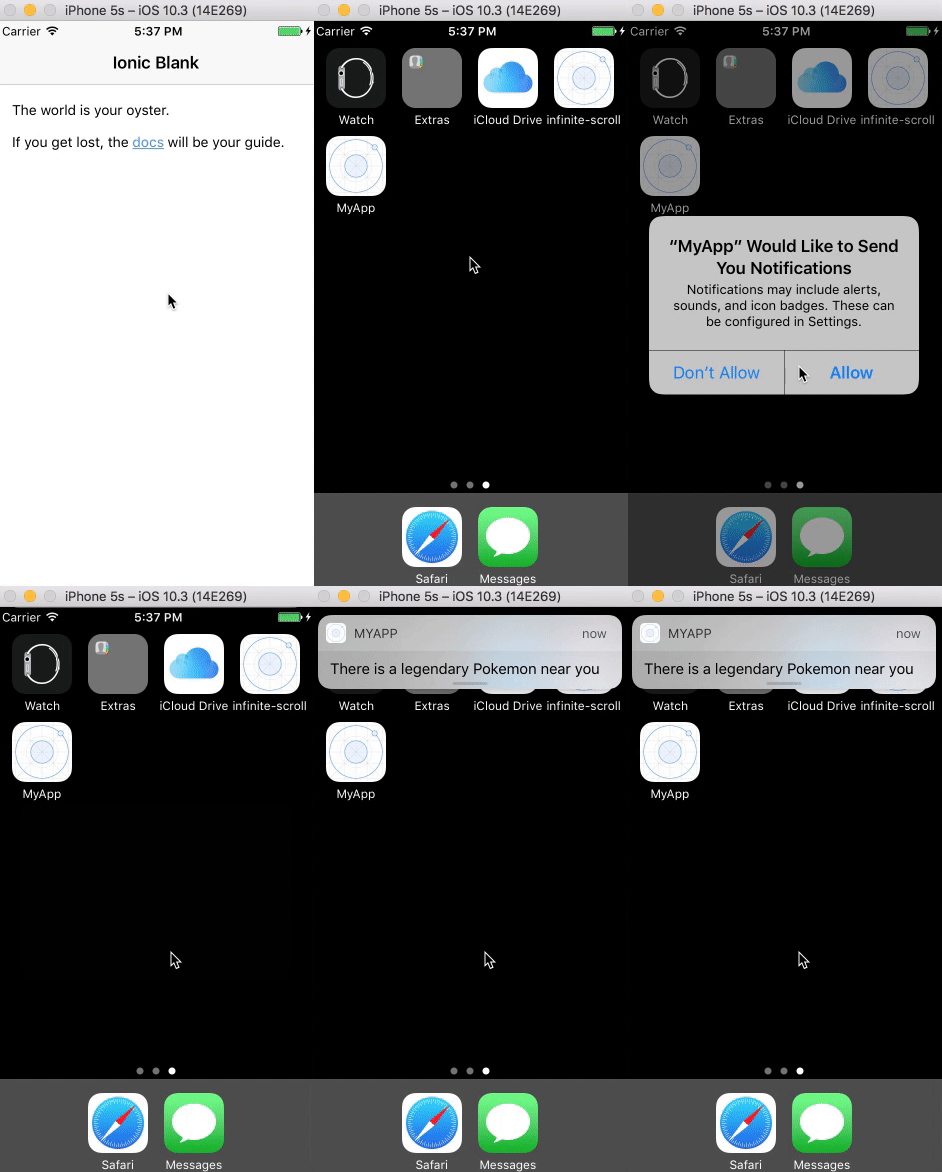
Simply using the schedule method from the localNotifications object we injected earlier and changing the flag's value so the notification is only triggered once.
Result:

The last step: recognizing when the player is close to a Legendary Pokemon.
This is generally handled by a server using the player's position, however, let's not complicate things and just trigger this event when the player moves a certain distance.
Geolocation and Maths
We start by adding some new properties:
export class HomePage {
  notificationAlreadyReceived = false;
  originalCoords;
  DISTANCE_TO_MOVE = 0.003069;
  .
  .
  .
}
originalCoords where the starting coords will be stocked and DISTANCE_TO_MOVE which is our threshold, since we are in test mode, 0.003 km is good enough.
The Geolocation Service is then used for the first time:
import { Geolocation } from '@ionic-native/geolocation';
.
.
.

export class HomePage {
.
.
.

  constructor(
    public backgroundMode: BackgroundMode,
    public platform: Platform,
    public geolocation: Geolocation,
    public localNotifications: LocalNotifications) {

    platform.ready().then(() => {
      geolocation.getCurrentPosition()
        .then(position => {
          this.originalCoords= position.coords;
        })
        .catch((error) => {
          console.log('error', error);
        })
      .
      .
      .
    }
  }
The originalCoords property now contains our starting position.
The code inside the activate callback is updated:
this.backgroundMode.on("activate").subscribe(() => {
  console.log("activated");
  setInterval(this.trackPosition, 2000);
});
Instead of directly showing the notification, we start with tracking the player's position by triggering a new custom trackPosition method every two seconds:
trackPosition = () => {
  this.geolocation
    .getCurrentPosition()
    .then(position => {
      this.handleMovement(position.coords);
    })
    .catch(error => {
      console.log("error", error);
    });
};
A very simple method, all we do is acquiring the new position through the geolocation service's getCurrentPosition method and passing the coords to another method: handleMovement.
handleMovement = coords => {
  const distanceMoved = this.getDistanceFromLatLonInKm(
    this.originalCoords.latitude,
    this.originalCoords.longitude,
    coords.latitude,
    coords.longitude
  );

  if (
    distanceMoved > this.DISTANCE_TO_MOVE &&
    this.notificationAlreadyReceived === false
  ) {
    this.showNotification();
  }
};
The distance between the starting and the current position is calculated by another custom method: getDistanceFromLatLonInKm (more on that later).
If the player moves enough and never received the notification: one is shown.
The distance calculation is a copy paste from the internet (aka the Haversine formula). You can analyze it if you like maths, otherwise, just copy paste those two methods:
  getDistanceFromLatLonInKm(lat1,lon1,lat2,lon2) {
    var R = 6371; // Radius of the earth in km
    var dLat = this.deg2rad(lat2-lat1);  // deg2rad below
    var dLon = this.deg2rad(lon2-lon1);
    var a =
      Math.sin(dLat/2) * Math.sin(dLat/2) +
      Math.cos(this.deg2rad(lat1)) * Math.cos(this.deg2rad(lat2)) *
      Math.sin(dLon/2) * Math.sin(dLon/2)
      ;
    var c = 2 * Math.atan2(Math.sqrt(a), Math.sqrt(1-a));
    var d = R * c; // Distance in km
    return d;
   }

  deg2rad(deg) {
    return deg * (Math.PI/180)
  }
Conclusion
Why the **** do I have to keep my game open to hatch my Pokemon Go eggs?
Seriously guys, if some of your features can work in the background, just do it.
If you have to choose between one application that allows you to save some battery while using other apps and one that forces you to stay on the main screen, which one would you uninstall?


