Using Firebase Cloud Functions in an Ionic application
This tutorial is similar to the one on the AWS API Gateway. At the end you will be able to choose between the AWS or the Firebase way.
Firebase has many services we can use like Authentication, Real-Time Database, Crash Reports, etc. If we want something custom, Cloud Functions for Firebase allows us to create our own functions and call them in our Ionic applications.
Installation
The principle is simple:
- We create the functions locally
- Push them to Firebase
- Use them
In order to communicate with Firebase, we need to globally install one library:
npm install -g firebase-tools
Ok, we can now create our Ionic project:
ionic start ionic-firebase-cloud-functions
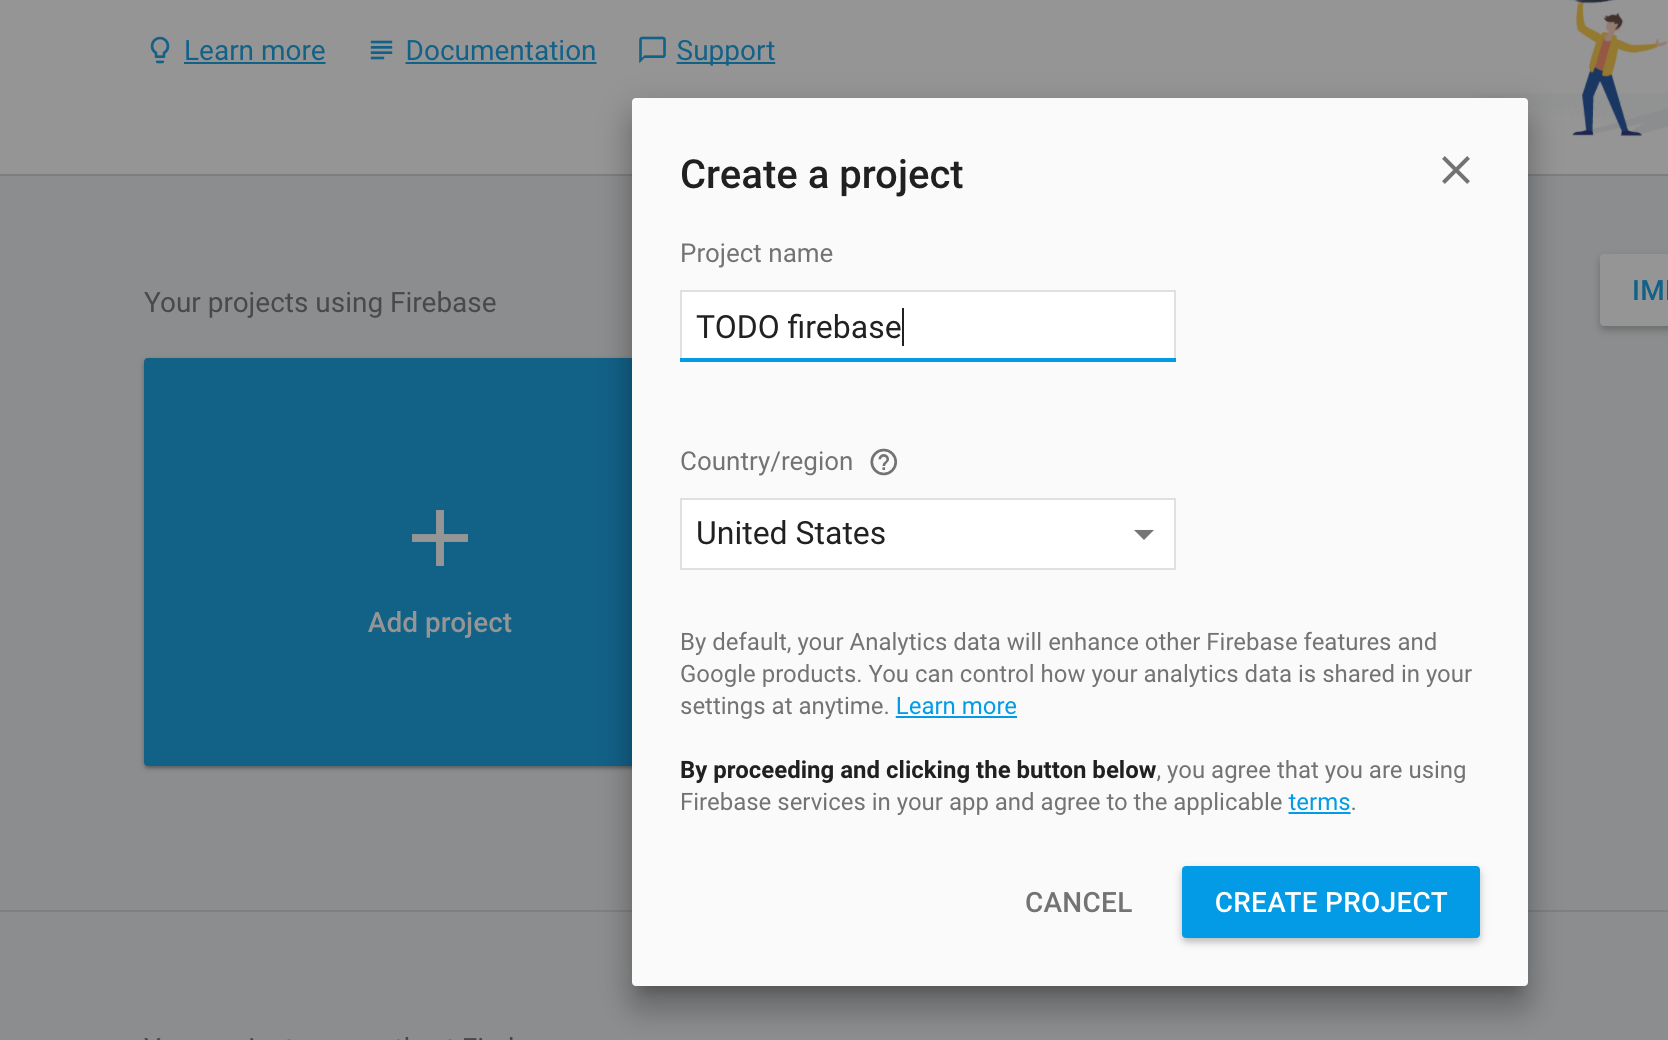
Just like the previous tutorials, we need a Firebase project and it all starts there.

I'll re-use my previous Firebase TODO project:
Login into Firebase:
firebase login
And setting up Firebase at the root of the project:
firebase init functions
This will trigger the following script:
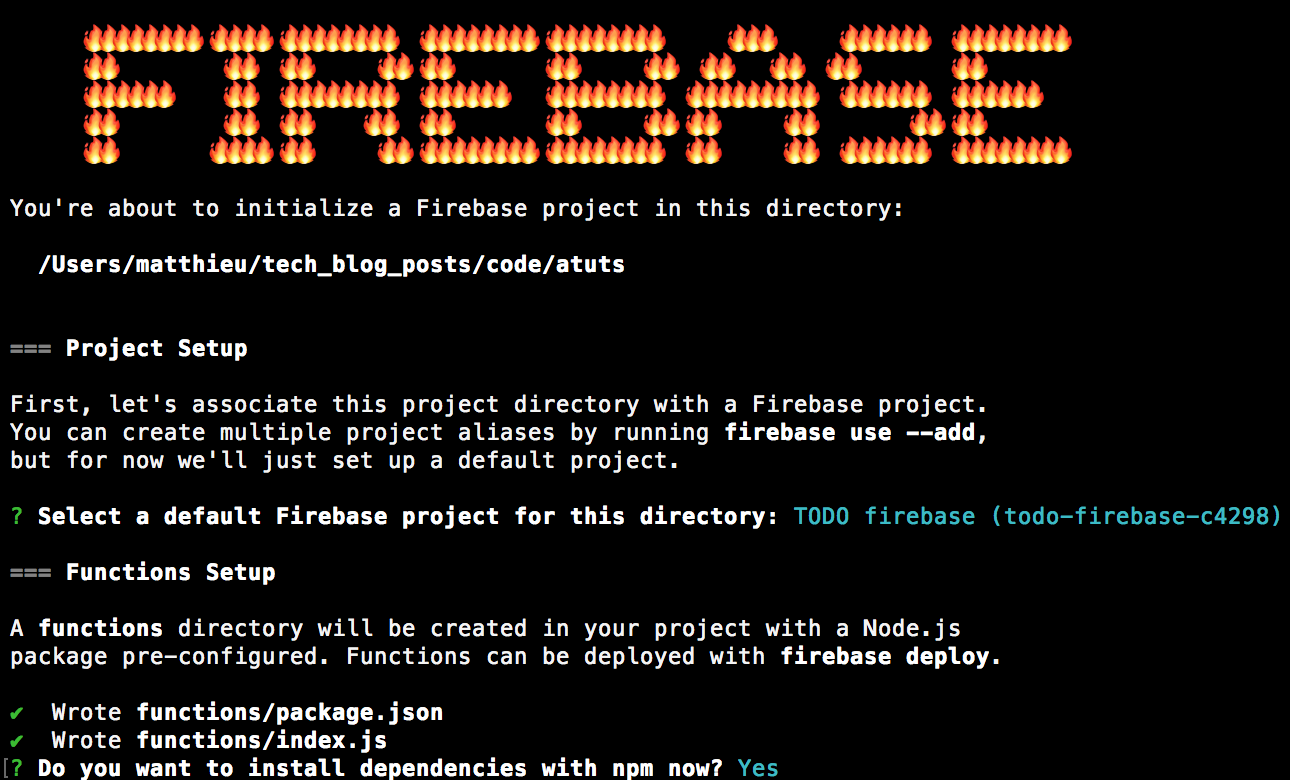
Telling the script to use the TODO Firebase project and installing every npm libraries we will need.
Two new files and one folder are created at the root of our Ionic project:

The .firebaserc which contains the name of our Firebase project:
{
  "projects": {
    "default": "todo-firebase-c4298"
  }
}
The firebase.json file is empty for now, we need to tell Firebase in which folder our functions are located:
{
  "functions": {
    "source": "functions"
  }
}
This functions folder contains:

- The index.js file is where the functions will be written
- The node_modules folder will have the libraries we potentially need like moment.js, lodash, etc.
- The package.json will contain some information about the project, libraries, etc.
All we have to do now is to create the functions. Syntax-wise its Node.js: export, req, res, send, etc.
Just a test function
Let's create our first basic function:
const functions = require("firebase-functions");

exports.test = functions.https.onRequest((req, res) => {
  res.send("Test passed");
});
We can now deploy using the following command:
firebase deploy --only functions
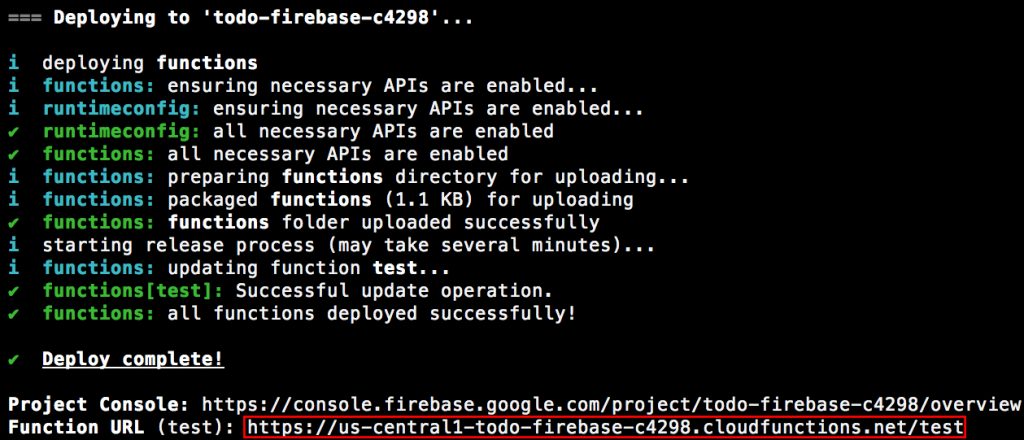
Keep this URL under the hand, we will call it in a few moments.
We can now head to our Ionic project!
We start by adding the HttpModule to the app.module.ts file:
import { HttpModule } from '@angular/http';
.
.
.

@NgModule({
  .
  .
  .
  imports: [
    BrowserModule,
    HttpModule,
    IonicModule.forRoot(MyApp)
  ]
})
Moving on to the home.ts file:
import { Component } from '@angular/core';
import { NavController } from 'ionic-angular';

import { Http } from '@angular/http';

@Component({
  selector: 'page-home',
  templateUrl: 'home.html'
})
export class HomePage {

  constructor(public navCtrl: NavController, public http: Http) {
    http.get('https://us-central1-todo-firebase-c4298.cloudfunctions.net/test')
    .subscribe((data) => {
      console.log('data', data);
    })
  }
}
The Http Service is injected then used to call the Firebase Cloud Function. All we do here is subscribing and waiting for the data.
Launching our Ionic application:
ionic serve
Right here CORS should be an issue.
This is not a problem when developing on mobile, only in the browser.
The Allow-Control-Allow-Origin: Google Chrome plugin can fix it, it's available there.
Here is our result:

Great! Our data is in the body.
The first basic function is created and available.
Using other Firebase services
Now let's spice this one a bit, we are going to use the Firebase database from the TODO application tutorial and count the number of tasks in the database.
Back to the index.js file!
We will need some privileges now, in order to acquire them, at the top of the file we add the following lines:
const admin = require("firebase-admin");
admin.initializeApp(functions.config().firebase);
We can now create a new function named countTasks:
exports.countTasks = functions.https.onRequest((req, res) => {
  var db = admin.database();
  var ref = db.ref("/tasks");

  ref.once("value", function(snapshot) {
    var count = snapshot.numChildren();
    res.status(200).json({ count: count });
  });
});
The database is stocked in a variable named db and we grab the reference to our tasks root.
The once method will return a snapshot of our data and we can count the number of children using the numChildren method.
Finally we send a response with the status 200 (all good) and some json that includes the count.
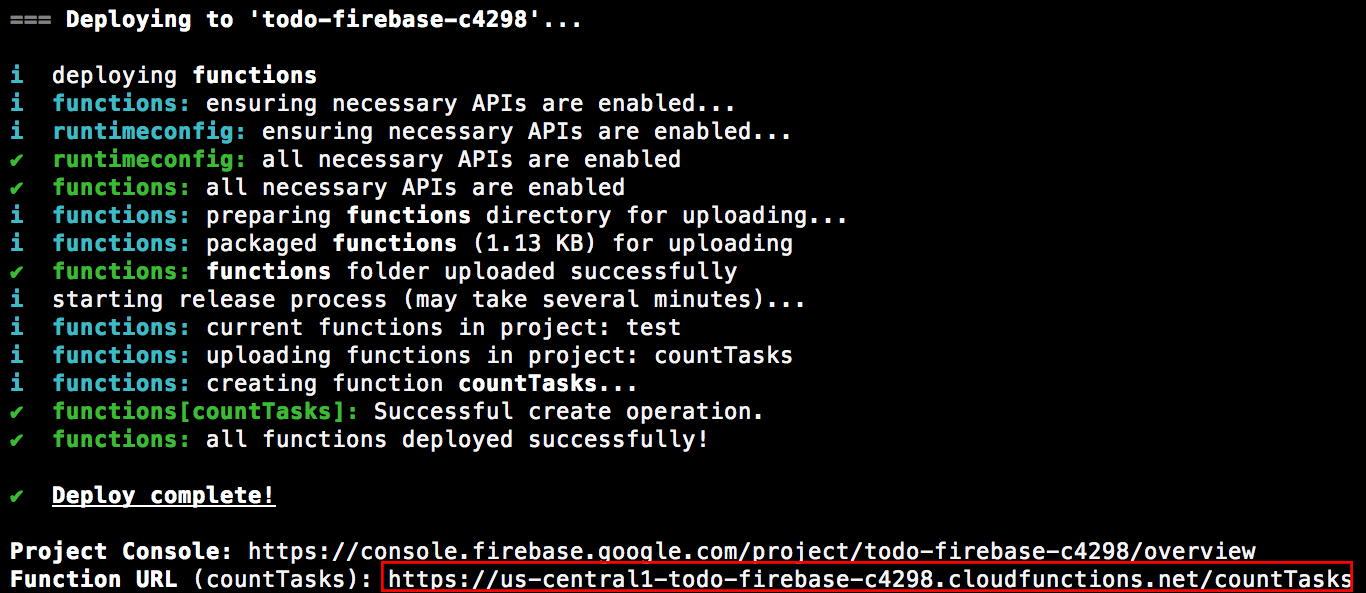
Using the following command, the countTasks method is deployed without redeploying the test method:
firebase deploy --only functions:countTasks
One last stop at the home.ts file:
import { Component } from '@angular/core';
import { NavController } from 'ionic-angular';

import { Http } from '@angular/http';

@Component({
  selector: 'page-home',
  templateUrl: 'home.html'
})
export class HomePage {
  count;

  constructor(public navCtrl: NavController, public http: Http) {
    http.get('https://us-central1-todo-firebase-c4298.cloudfunctions.net/test')
    .subscribe((data) => {
      console.log('data', data);
      this.count = data.json().count;
    })
  }
}
The URL we have to query is updated and a new count property is set to show the results on the screen.
A quick update to the home.html file:
The count: {{count}}
And Voila!
We have our data:

Conclusion
We have seen how we can go serverless by creating and calling different functions using Cloud Functions for Firebase.
All we need is a Firebase project, installing the Firebase CLI, login in using a Google account, initializing the Firebase functions, modifying them as we need and finally deploying to the Cloud.
This is quite useful if you don’t want to handle a server, in my past experience I encountered many issues setting up Node.js servers on Heroku & Cie, here it takes 5 minutes and every Firebase services are at hand.
If you liked this tutorial, you can learn more on Firebase’s database, storage, twitter authentication and basic authentication.

