Angular 2 Transclusion with ng-content in one go
Transclusion was one of the coolest feature of Angular 1.
Angular 2 made this (way) more simple and also changed its name to Projection.
What we used to configure in our directives with some symbols and ngTransclude is now directly handled into the DOM.
Before diving into it, let's refresh our memory.
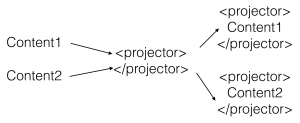
Here is the most basic Projection example:

We pass some content to a Projector Component and it will display it into the corresponding slot.
Here is the Projector Component:
import { Component } from "@angular/core";

@Component({
  selector: "projector",
  templateUrl: "projector.component.html"
})
export class ProjectorComponent {}
Yes! There is basically nothing there, only the templateUrl where the work is done:
<div>
  Text projected starts here
  <ng-content>
  </ng-content>
  Text projected ends here
</div>
The ng-content Component will use the content placed between the <projector> </projector> tags, just like this:
<projector>
  <div>
    Content to project
  </div>
</projector>
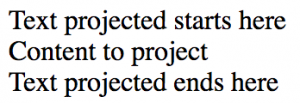
The result:

If we want to be more precise we can project by:
- Class name
- Element
- Attribute
Here is how we pass the content:
<projector>

  <div class='project-class'>
    ProjectClass
  </div>

  <div>
    ProjectedElement
  </div>

  <div projectAttr>
    ProjectAttr
  </div>

</projector>
The select attribute allows us to pick the content that we want to use for the slot, just like this:
<div>
  Text projected starts here
  <ng-content select=".project-class"> </ng-content>
  <ng-content select="[projectAttr]"> </ng-content>
  <ng-content select="div"> </ng-content>
</div>
Text projected ends here
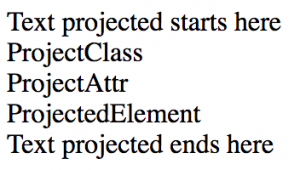
The result:


